
Last updated November 15, 2026
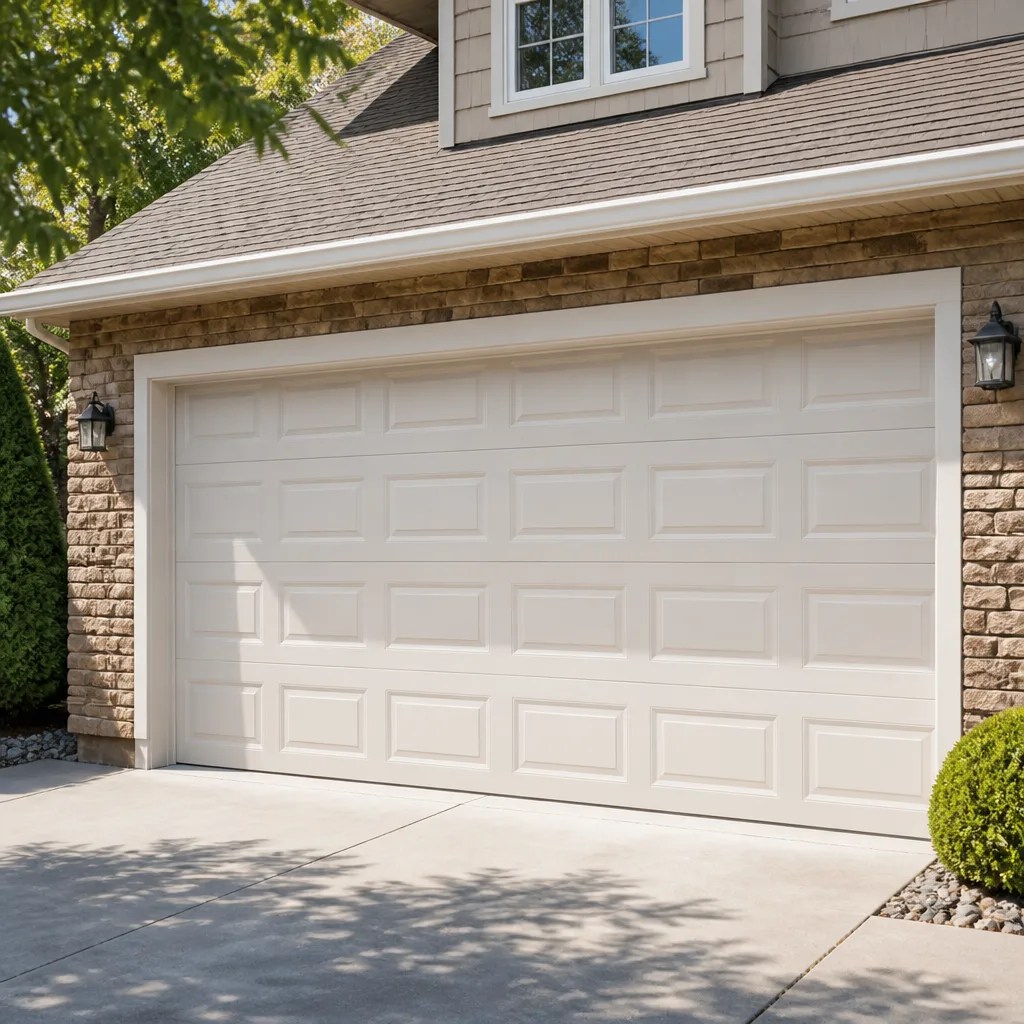 Raised-panel steel
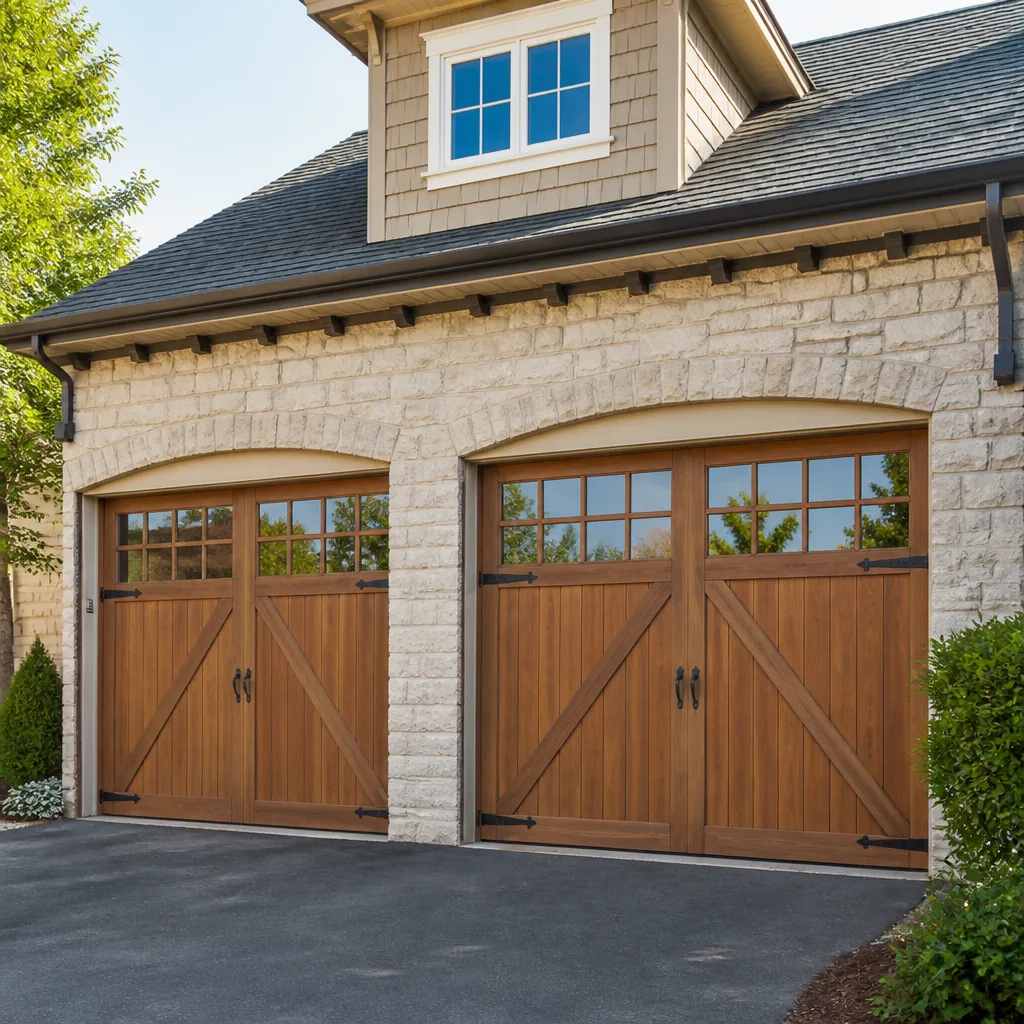 Carriage house
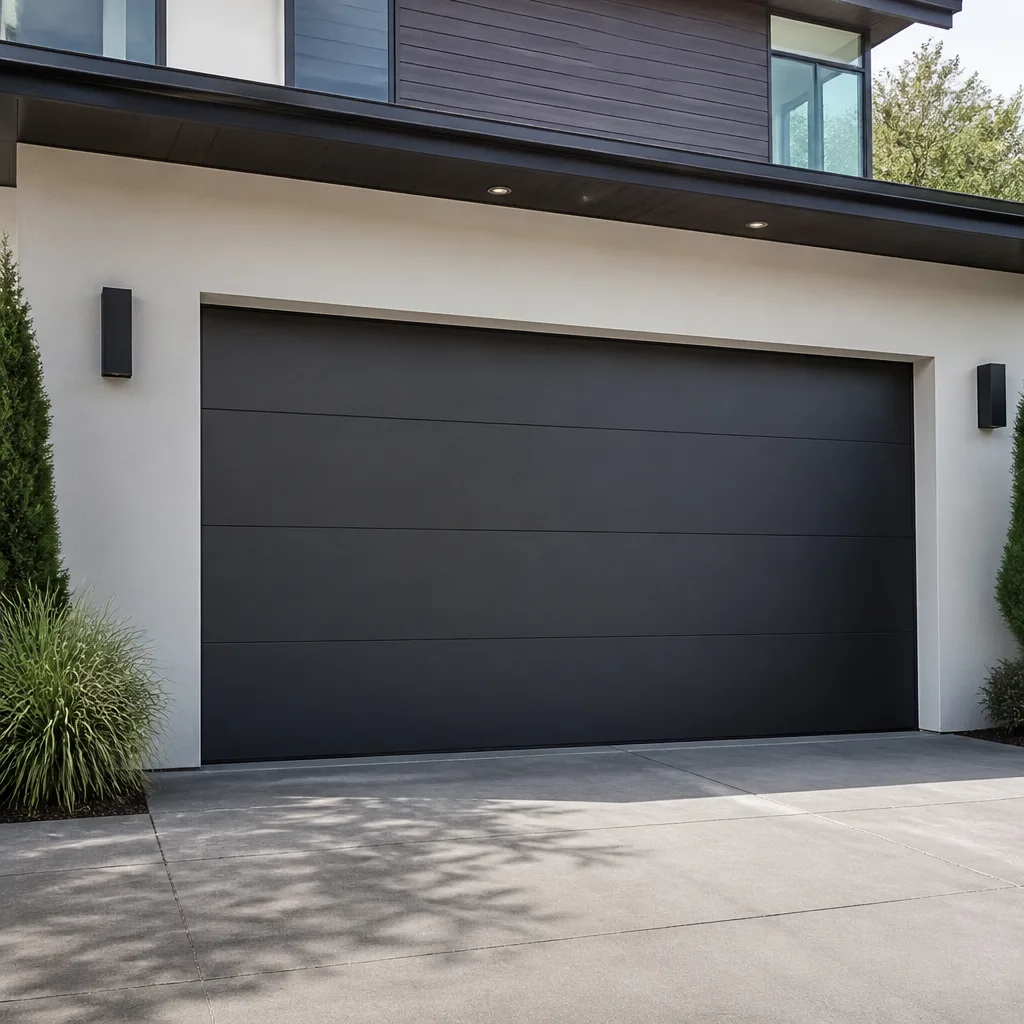 Modern flush
 Full-view glass
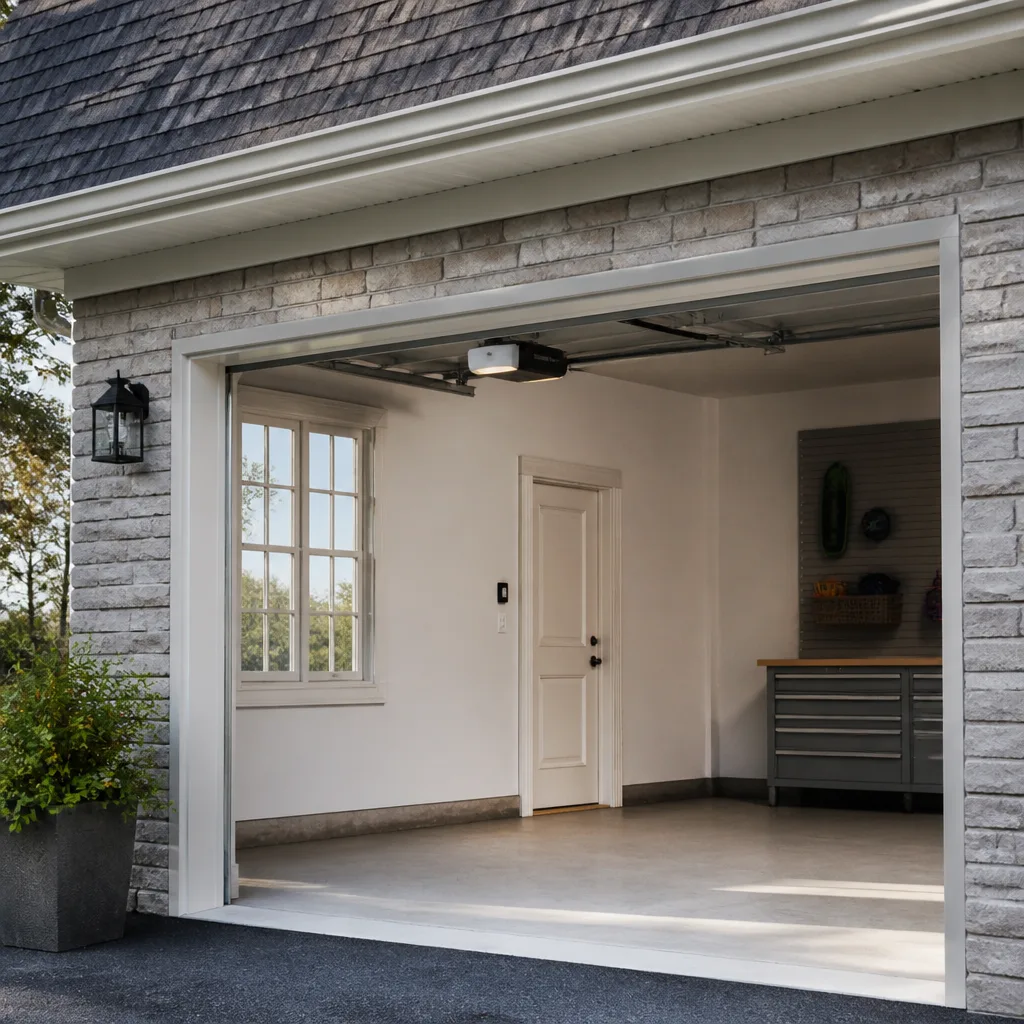 LiftMaster openers
 Chamberlain openers
Full 25-point door and opener safety check with every visit - springs, cables, rollers, tracks, and your LiftMaster or Chamberlain opener included
You get a price before we start. It does not change when the pro arrives.
Get your free estimateDIY vs Professional Garage Door: The Brockton Homeowner’s Decision Guide
Most homeowners assume the DIY-versus-professional question comes down to skill. It doesn’t. It comes down to which tasks carry genuine injury risk and which ones quietly void a manufacturer warranty. Replacing weatherstripping or realigning a safety sensor is well within reach for a careful homeowner. Winding a torsion spring is not, no matter how many videos you watch. The gap between those two ends of the list is where most people get into trouble. This guide sorts the common garage door jobs into three buckets (DIY-safe, DIY-risky, and professional-only), explains the reasoning behind each call, and shows Brockton homeowners where to save money and where to hand it off.
Quick Answer
Some garage door work is genuinely DIY-appropriate: painting panels, replacing weatherstripping, programming remotes, aligning safety sensors, and light lubrication won’t void your manufacturer warranty and don’t put you at risk. Spring work, cable replacement, panel swaps, and opener drive-system repair are not homeowner jobs. A torsion spring stores enough energy to cause serious injury, and getting the winding math wrong is how people end up in the emergency room. When in doubt, hand off the high-tension and electrical work and do the cosmetic and maintenance tasks yourself.
Styles & brands we work with
- Raised-panel steel
- Carriage house
- Modern flush
- Full-view glass
- LiftMaster openers
- Chamberlain openers
Table of Contents
- How This Guide Works: The Three-Bucket Framework
- The DIY-Safe Tasks You Can Actually Do
- The DIY-Risky Tasks That Look Easier Than They Are
- The Professional-Only Jobs and Why
- The Spring Winding Math That Changes Everything
- Which DIY Mistakes Void Clopay, LiftMaster, and Chamberlain Warranties
- How to Do a Proper DIY Sensor Alignment and Force Adjustment
- When a Quick Fix Costs More Than the Real Repair
How This Guide Works: The Three-Bucket Framework
We’ve worked on garage doors long enough to see the same pattern play out. A homeowner watches a video, gets through the easy part, then hits a step that requires a tool or a piece of knowledge they don’t have. They improvise. That’s when the job goes sideways. The three-bucket framework keeps you out of that trap by sorting every common task before you pick up a wrench.
Here’s how the buckets work:
- DIY-safe: Low-energy tasks with no stored tension and no electrical hazard. If you get it wrong, you redo it. Nothing gets hurt except your afternoon.
- DIY-risky: Tasks where an error causes damage or mild injury but not a catastrophic one. Often doable, but with specific limits you need to respect.
- Professional-only: High-tension components, electrical panels, and anything where a mistake can bring the door down or seriously hurt someone.
The bucket a task falls into doesn’t depend on how strong you are or how handy you’ve been around the house. A torsion spring doesn’t care about your carpentry skills. What matters is how much stored energy the task involves and how much damage a failure causes. Both are fixed facts, not skill judgments.
In Brockton, this framework matters because the housing stock is older than in many surrounding towns. Lots of homes here have doors that have been in place for years, and worn components compound the risk. A spring that was borderline last winter may be past its service life this spring, and the New England cold-then-warm cycle puts real stress on every moving part. Knowing which tasks to take on yourself and which to leave alone keeps your door running right instead of slowly degrading.
The DIY-Safe Tasks You Can Actually Do
Plenty of garage door maintenance is genuinely approachable. These are the tasks we tell Brockton homeowners to take on themselves without hesitation, because they lower the odds of a real breakdown later and don’t put anyone at risk.
- Repainting or staining panels. Wood and steel doors both take a fresh coat well. Clean, sand lightly, prime if the surface is bare, and paint. No stored energy involved.
- Replacing bottom weatherstripping. The rubber seal along the bottom edge wears out and lets water in. A replacement kit slides into the retainer track with no special tools.
- Aligning safety sensors. Bracket-mounted infrared sensors go out of adjustment if something bumps them. You can loosen the wing nut, aim the LED, and retighten.
- Programming remotes and keypads. LiftMaster, Chamberlain, and Genie all use documented pairing sequences. The manual is the source of truth.
- Lubricating hinges, rollers, and tracks. A garage-door-specific lubricant on the pivot points and a dry rag on the tracks keeps things quiet and smooth.
- Tightening loose hardware. Bolts on the hinges and the bracket at the top and bottom of each panel work themselves loose over the years.
- Cleaning and inspecting the tracks. A visual check for debris, dents, or misalignment is a five-minute task that catches problems before they grow.
Every one of these tasks is covered in your door or opener manual and won’t void a manufacturer warranty when done correctly. If you’re going to save money on garage door work, this is where to do it. Weatherstripping and paint are the two most common items, and both are tasks you can knock out on a Sunday afternoon without breaking a sweat.
One caution: while you’re doing the safe stuff, look for warning signs that push the job into a higher bucket. Stretched cables, a bent track, or a spring that’s visibly broken all mean stop and reassess. Worn weatherstripping is a cosmetic issue; a bowed track that’s stopping the door from closing straight is a real one. Call a specialist if you spot anything that looks structural.
The DIY-Risky Tasks That Look Easier Than They Are
Some jobs fall in a middle zone. They’re not automatically a hand-off, but an error causes real damage. These are the tasks where people get in trouble because the video made it look simple.
- Replacing a single roller. A roller swap is doable, but the door’s weight has to be taken off the roller before it comes out. If you don’t know how to brace the door, the panel can drop.
- Adjusting track alignment. Track bending is a common fix for a door that binds. Overbend and the door binds worse. A small adjustment with a padded tool works; aggressive reshaping doesn’t.
- Replacing opener drive belts or chains. Belt and chain replacement is more involved than it sounds. Tension has to be set correctly, and every opener brand has its own spec.
- Working on the torsion tube. Replacing bearings or adding a center support is a pro job. Working near the torsion tube means working near stored energy.
- Resetting a circuit breaker or troubleshooting opener wiring. Breaker resets are simple, but diagnosing low-voltage wiring issues on the opener’s control board is not.
In our experience, the middle bucket is where most DIY injuries happen, because the task has enough energy to hurt but doesn’t feel dangerous yet. The safe approach with these is to read the manual fully, refuse to skip any safety step, and back off the moment something doesn’t line up. If a roller sticks or a track won’t budge, that’s the signal to call for garage door repair in Brockton rather than force it.
The Professional-Only Jobs and Why
These tasks belong to a trained technician. Not because homeowners can’t read the manual, but because the danger and the required tooling are both real.
- Torsion spring replacement or tension adjustment. A torsion spring holds hundreds of foot-pounds of stored energy. Winding bars, proper tooling, and a specific number of quarter-turns per spring are mandatory. Skipping any of it can kill someone.
- Extension spring replacement. Extension springs along the sides of the door are lower-energy than torsion springs but still under tension. The safety cable running through the center of each spring is what stops it from flying if it breaks.
- Cable replacement. Cables carry the door’s weight and are under tension whenever the door is closed. They can cut through a hand or arm if they fail during work.
- Panel replacement. Individual section replacement requires removing spring tension, disconnecting the hinge stack, and resetting the whole door’s balance.
- Opener replacement or major repair. Opener installations involve electrical connections and correct mounting to the ceiling joist. A bad install can strip the rail or crash the door.
- Bottom bracket work. The bracket that holds the bottom panel against the cable is under load in a way that’s easy to underestimate.
- Track replacement. Full track replacement requires removing door weight and reinstalling aligned to within a fraction of an inch.
Our technicians have up to 12 years of experience, and every one of them handles these tasks with specialty tools you won’t find at a hardware store rental counter. That’s why we don’t encourage homeowners to attempt them. When a spring breaks, the correct call is a licensed, insured specialist. We can quote the job before we touch anything, and the price is agreed before any work starts.
Not sure whether your task is on this list? Call (844) 329-8773 and describe it. We answer 24/7, and we’ll tell you honestly whether it’s a DIY-safe job or a professional repair.
The Spring Winding Math That Changes Everything
Here’s the part homeowners rarely hear clearly. The reason spring work is not DIY isn’t about strength. It’s about the physics of stored energy and the winding math that has to be exact. A torsion spring stores energy as it winds, and a broken or improperly adjusted spring releases that energy instantly. The result is what puts people in the ER.
The math is straightforward but unforgiving. Each torsion spring has a wire diameter, an inside diameter, a length, and a specific number of wind turns (reported in quarter-turn counts) that it must be set to. Get the wind count wrong and the door either won’t stay on the ground or won’t close. Get the wind direction wrong and the spring fights against the door’s weight, which stresses every cable and bracket attached to it. Get the count close but not exact and the door becomes unbalanced, which burns out the opener over the next few months.
Then there’s the tooling. Torsion winding requires solid steel winding bars of the correct diameter, and those bars have to be held with two hands while you transfer the load. Losing grip on a winding bar with a fully wound spring is a catastrophic failure. That’s why we don’t hand winding bars to homeowners. The tools alone aren’t the danger; the two hands and the reset between turns are what make it a specialist operation.
What you can do safely is understand the symptoms of a failing spring. Watch for these signs:
- A loud bang from the garage, often followed by the door not opening.
- A visible gap in the coil of the torsion spring above the door.
- The door feeling unusually heavy when lifted manually.
- The opener straining or stopping mid-travel.
If any of those show up, it’s a professional call. We service doors throughout Brockton and can usually identify a broken spring in a few minutes. Trying to “just test” the spring by lifting the door can make the failure worse.
Which DIY Mistakes Void Clopay, LiftMaster, and Chamberlain Warranties
Warranties are the second reason some tasks should go straight to a specialist. Clopay, LiftMaster, Chamberlain, and Amarr all publish warranty terms, and several have language about proper installation and maintenance by qualified personnel. That’s the trigger phrase. If a DIY repair causes a failure that wouldn’t have happened with a proper install, the manufacturer can decline the claim.
The warranty-risky categories tend to be consistent across the major brands:
- Improperly set spring tension. This is the top trigger. If a spring fails within the warranty window and the door showed signs of incorrect tension, the claim is at risk.
- Opener wired or mounted incorrectly. Power supply damage from a bad electrical connection is almost always excluded.
- Door unbalanced from a DIY repair. If a door fails to close properly after a DIY panel or spring job, the manufacturer can point to the install as the cause.
- Structural modifications to the door or track. Drilling new holes to “fix” a track misalignment is a classic void.
Before starting any job, check your paperwork. Every Clopay, LiftMaster, or Chamberlain warranty document is specific about what’s covered and what isn’t, and the answer differs by product line. Reading it first saves you the argument later.
One point that surprises some homeowners: if the manufacturer recommends service by a qualified technician as a condition of the warranty, then a DIY fix in a warranty-risky category can cost you even if it technically “worked.” That’s why our garage door opener repair service exists as its own specialty. We handle LiftMaster, Chamberlain, Genie, Craftman, and Raynor openers as a dedicated service, and we keep a working knowledge of the warranty terms for each brand.
How to Do a Proper DIY Sensor Alignment and Force Adjustment
Safety sensors and the opener’s force setting are the two adjustments homeowners ask about most. Both are genuinely DIY-appropriate, and both are easy to get slightly wrong. Here’s how to do them correctly.
Safety Sensor Alignment, Step by Step
- Check the indicator lights. Each sensor has a small LED. A solid LED on both sensors means the beam is aligned. A flickering LED means the beam is being interrupted.
- Clear the path. Cobwebs, a fallen leaf, or a small piece of debris between the sensors can interrupt the beam. Wipe both lens faces with a dry cloth.
- Loosen, don’t remove, the mounting bracket. The sensor sits in a bracket with a wing nut or screw. Loosen it just enough to swivel the sensor.
- Aim the sensor, then look at the LED. Swivel the sensor until its LED is solid, then tighten the bracket. Repeat on the other sensor if needed.
- Test with an obstruction. Close the door and pass an object through the beam line. The door should reverse immediately. If it doesn’t, the sensor is not correctly aligned.
If the LED on a sensor stays dark after alignment, the sensor itself may have failed. That’s a replacement job, not a repair job. We can help diagnose it, and this is exactly the kind of thing we handle on our Laurel Garage Door Repair service calls.
Force Adjustment, Step by Step
The force setting tells the opener how hard to push the door. Too light and the door stalls; too heavy and the door can crush something before it reverses. Most LiftMaster and Chamberlain openers have force-adjustment screws on the back panel or under a light lens cover.
- Find the force controls. They’re usually two screws labelled “open force” and “close force.” The manual has the exact position for your model.
- Test the current setting. With the door disconnected from the opener (pull the release), lift it halfway. If it stays put, the door’s springs are doing the work. Reconnect.
- Adjust a quarter-turn at a time. Turn the force screw no more than a quarter turn per test. Small changes matter.
- Test the reversal. Place a 2×4 flat on the ground under the door and close it. The door must reverse when it contacts the board. If it doesn’t, back the close force down.
- Test the up force. With the door closed, press the open button and watch. If the door stops before it should, increase force by a quarter-turn.
Force adjustment is safe when you keep changes small. Force adjustment can hide a bigger problem when the door is binding, unbalanced, or has weak springs. If you find yourself increasing the force repeatedly to get the door to move, the door needs attention, not more force.
When a Quick Fix Costs More Than the Real Repair
The most expensive repair we see in Brockton is the one that masked a real problem. A quick fix holds for a while, then fails again. By the time the real cause gets addressed, the door has a second issue that a proper repair would have prevented.
The most common examples:
- Increasing opener force to compensate for weak springs. The opener works harder every cycle. Eventually the drive gear strips or the motor fails. You pay for springs plus an opener instead of springs.
- Bending a track to keep the door moving. The bend causes uneven roller wear. The rollers fail in pairs, then the hinges, then the cables. The bend was the trigger for all of it.
- Replacing a roller without addressing the bent hinge that caused it. The new roller fails within months. You’re back to the start.
- Cutting the safety cable off an extension spring because it’s “in the way.” This removes the only thing that stops the spring from flying if it breaks. Nothing about that is a fix.
The pattern to watch for is a repair that only works temporarily. If you find yourself repeating the same adjustment every month, the underlying component isn’t the one you’re adjusting. Stop. Diagnose the root cause, or have a specialist do it for you.
We work on doors throughout Brockton and can usually tell which component is at the root of a recurring issue in a short visit. Getting the right fix, not just a quick fix, is what saves you money over the years. That’s the difference between a repair that lasts and one that buys a few weeks.
Common Mistakes to Avoid
- Lifting a door with a broken spring “just to check.” The door’s weight is now unsupported by the spring. The bracket or cable can fail under that load. Don’t test it; call a specialist.
- Using the wrong lubricant on the opener’s drive screw or tracks. Grease attracts grit and turns into grinding paste. The manual is the arbiter here; most specify a light grease on the drive screw and a dry silicone spray on the tracks.
- Painting over a wet or dusty panel. New England humidity traps moisture under the paint film and leads to bubbling. Let panels fully dry before painting, especially in spring and fall.
- Tightening a torsion-spring bracket yourself. Some homeowners feel the spring “sagging” and try to tighten the bracket bolts. That bracket holds the spring under load and is a specialist task.
- Adjusting the force setting to compensate for a heavy door. The force setting is meant for the door’s designed weight, not its actual weight. Extra force masks the underlying problem and stresses the opener.
- Cutting the safety cables on extension springs. The cables are there to contain a broken spring. Never modify them, never remove them, and never let a “handyman” remove them.
- Assuming a new door means new wiring. When you replace the door, the old opener might still work. Check the opener’s manual for compatibility before letting anyone replace the whole system.
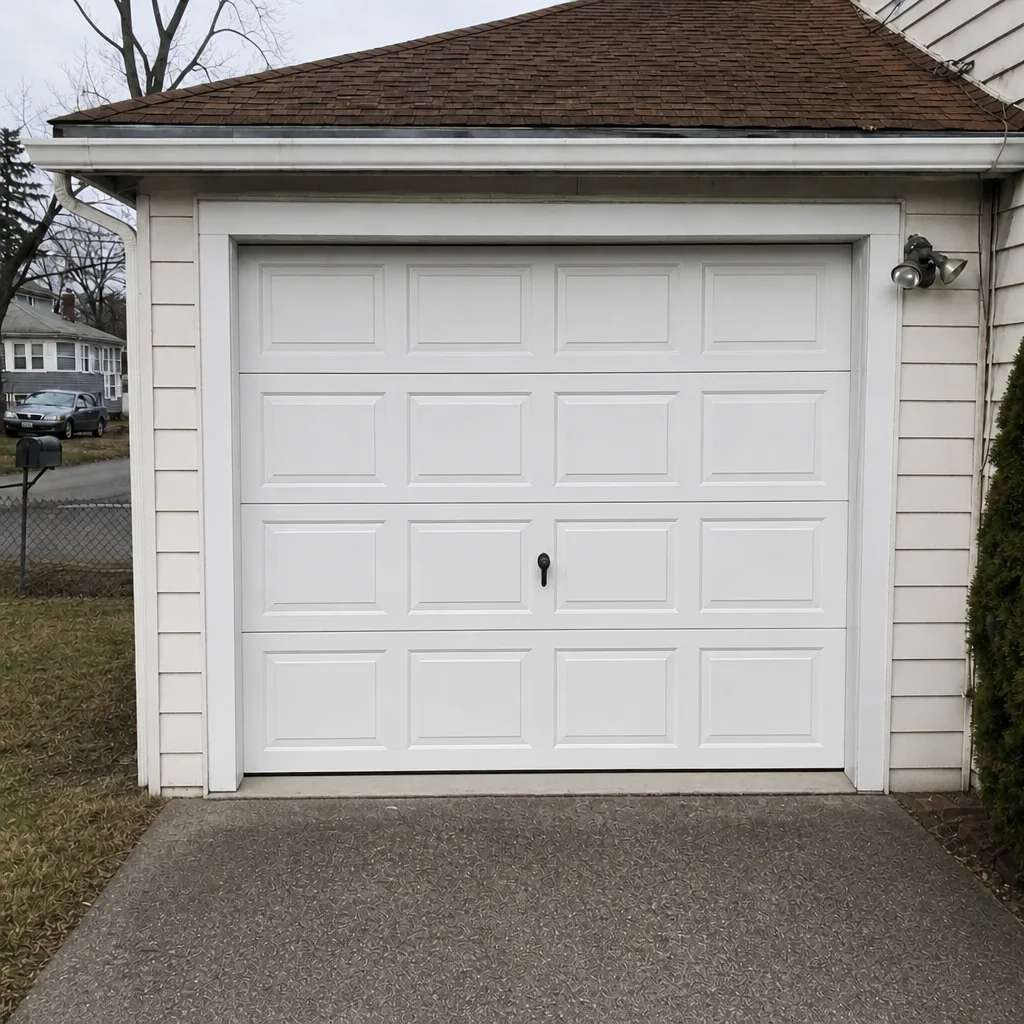
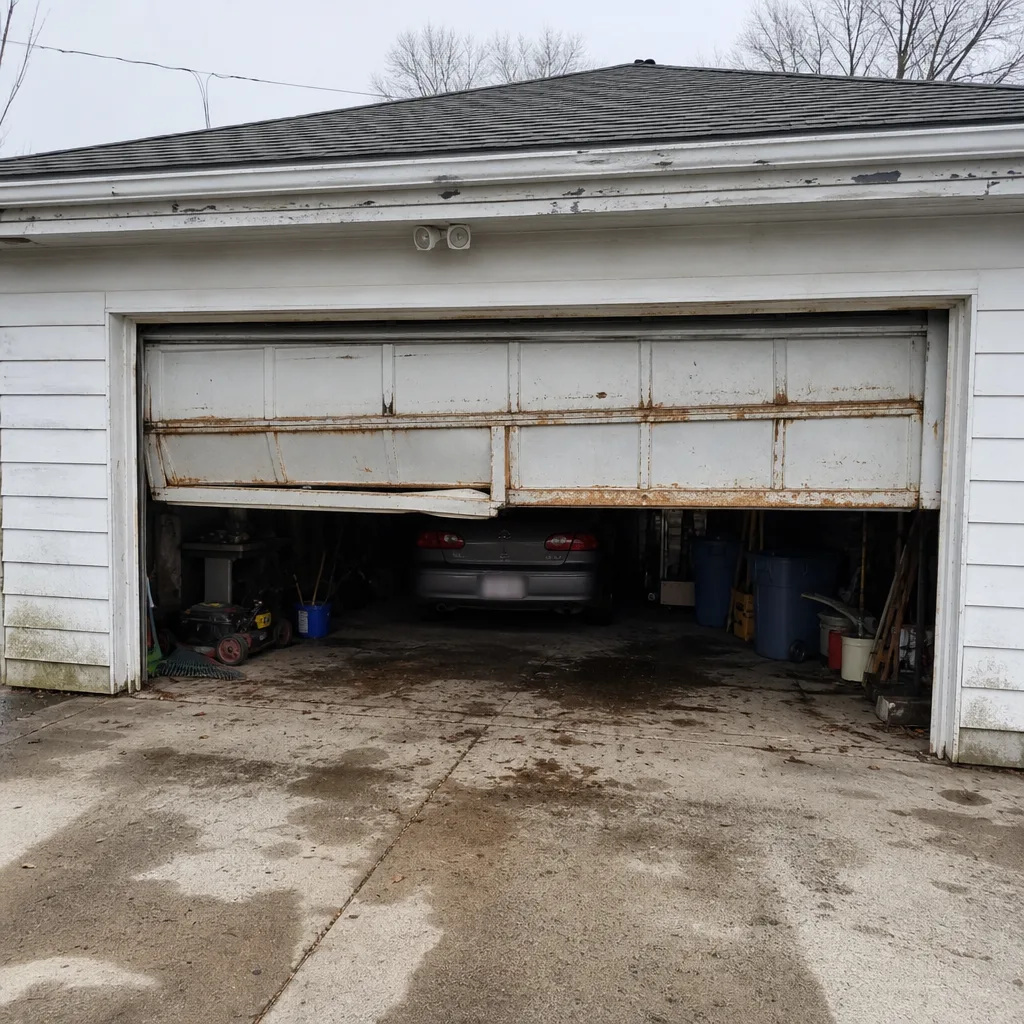
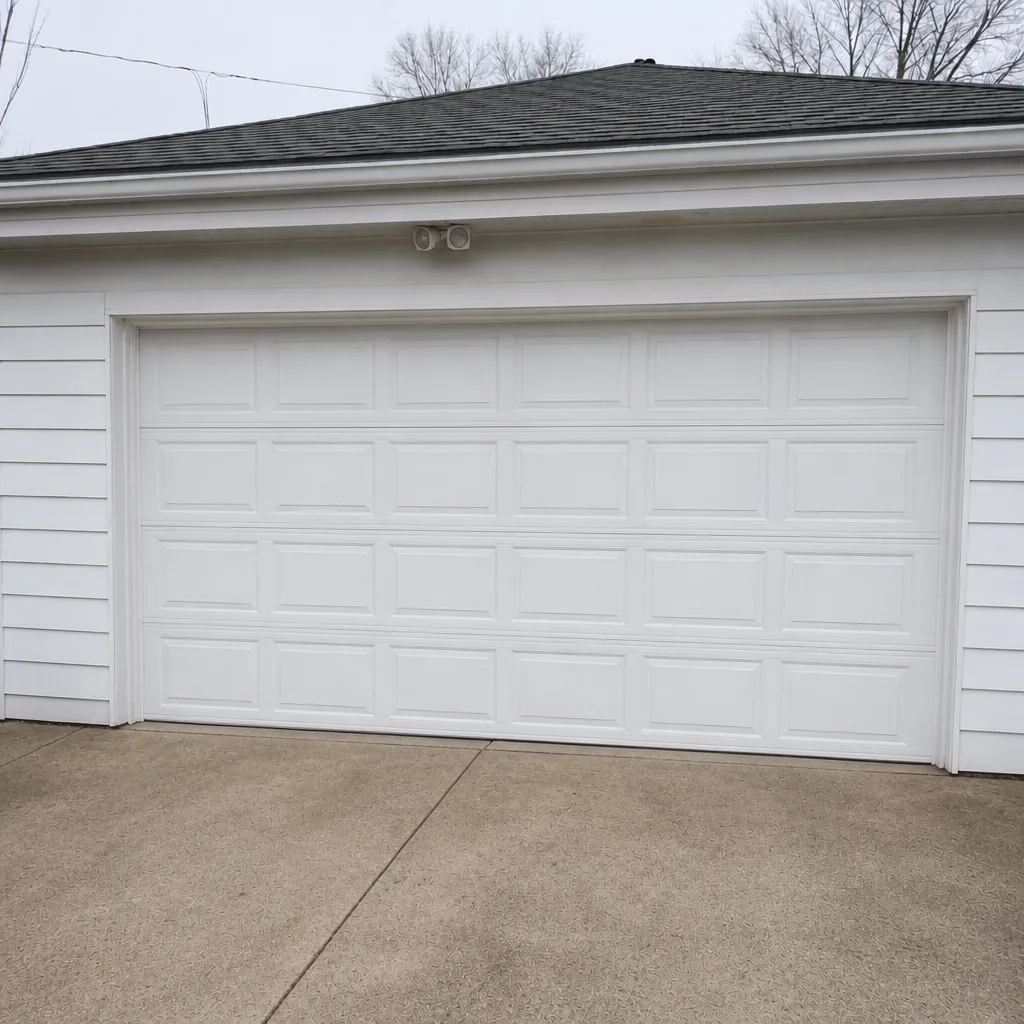
See the difference
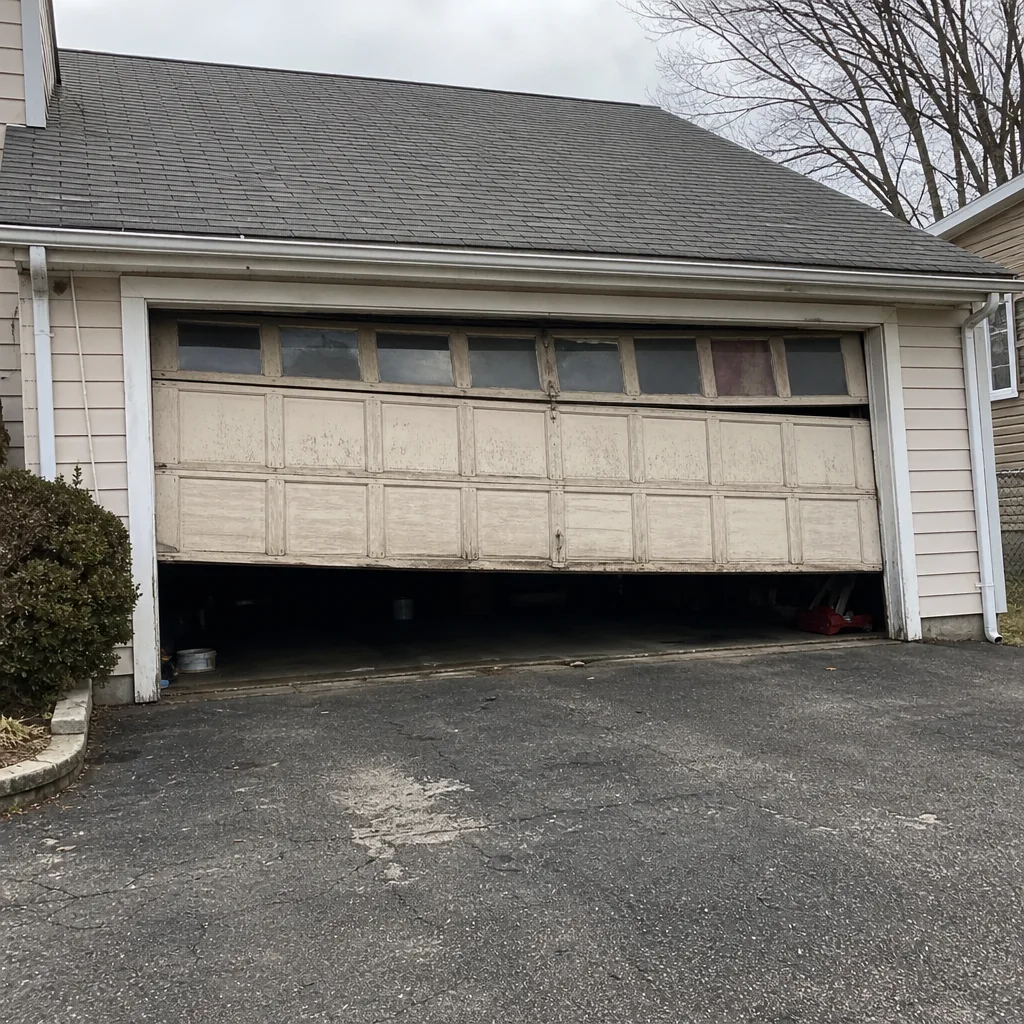 Before
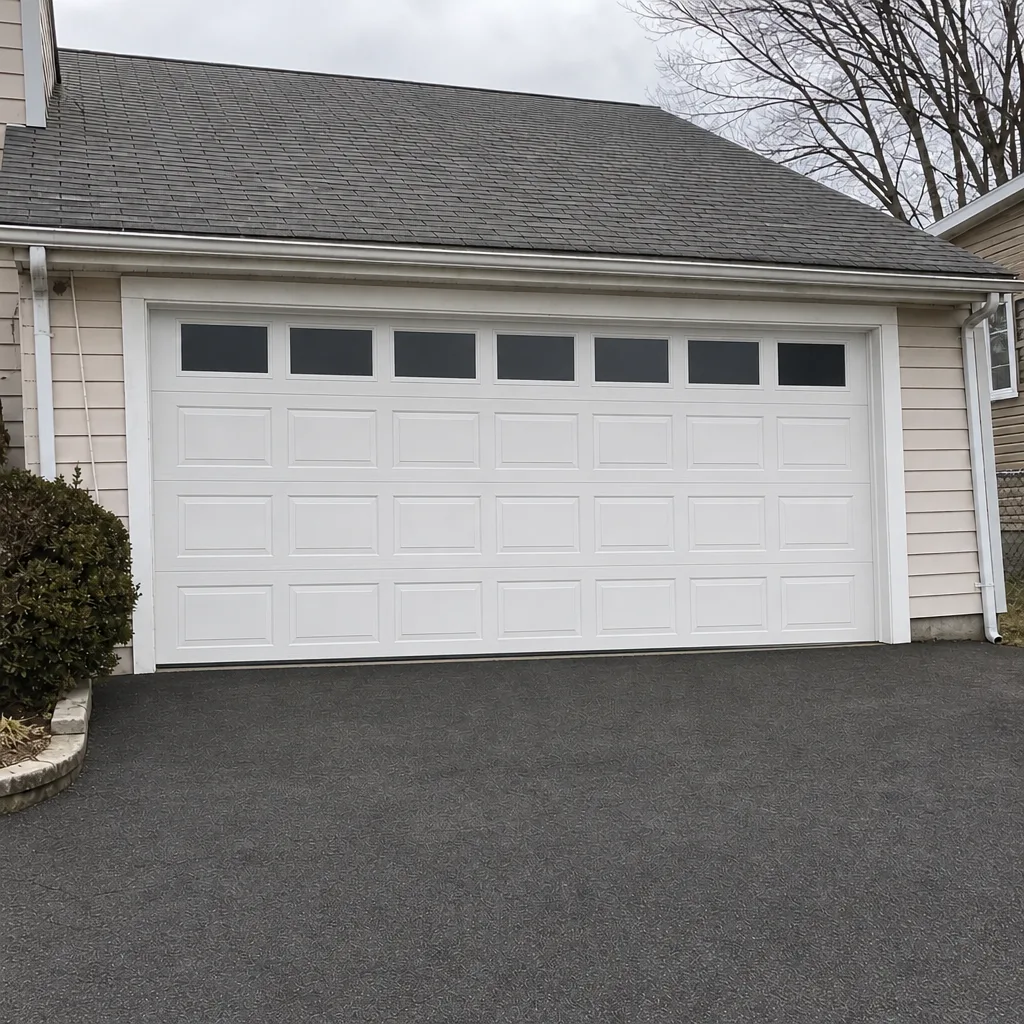 After
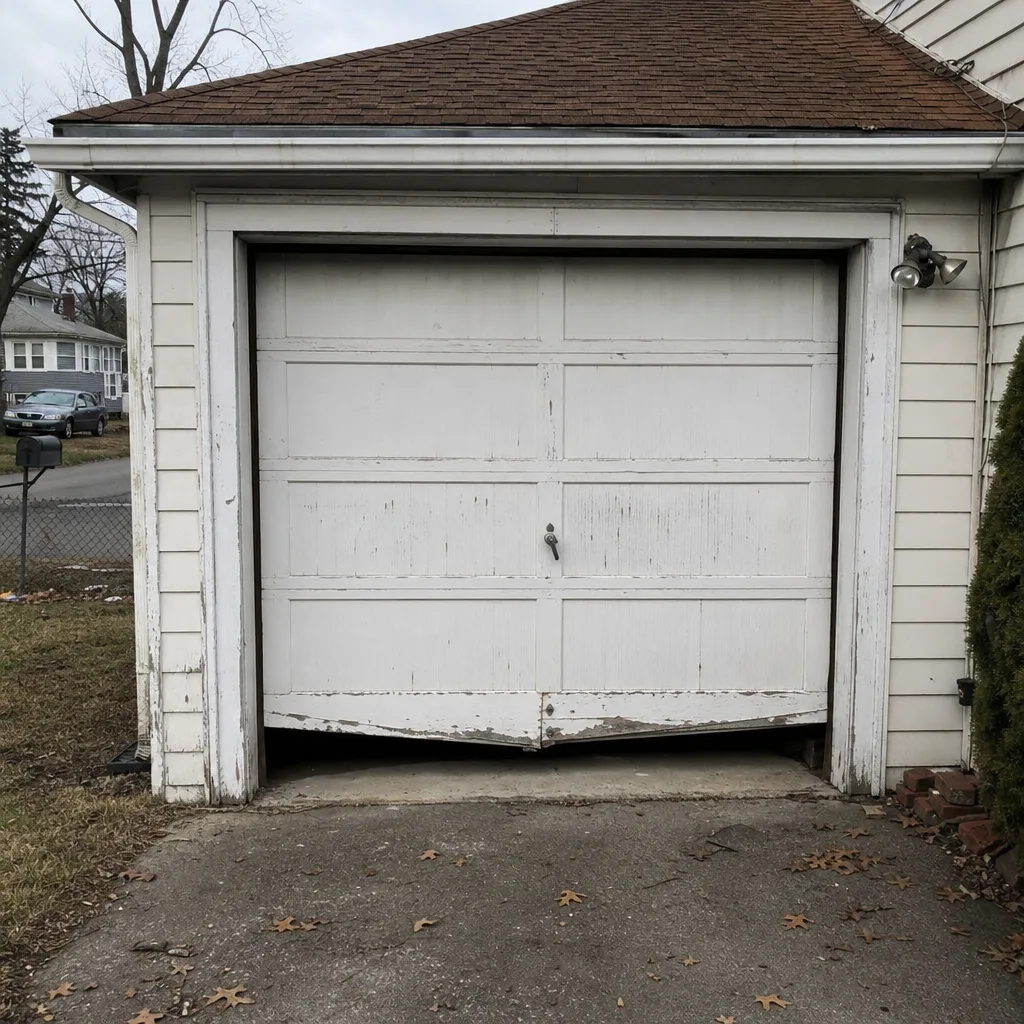 Before
 After
 Before
 After
When to Call a Professional
Call a professional for anything involving stored tension, electrical connections, or the door’s structural balance. That covers spring repair or replacement, cable work, panel replacement, opener replacement or major repair, track replacement, and any job where the door’s weight is being transferred between supports. It also covers any situation where you’re not sure what you’re looking at. A five-minute diagnosis by someone who does this every day beats a weekend of trial and error.
Need a specialist in Brockton? Laurel Garage Door Repair offers free estimates in Brockton. Call (844) 329-8773. We answer 24/7. Fast dispatch from 7am to 7pm, Sunday through Friday. The price is quoted and agreed before any work starts, so the written estimate sets the final number.
Frequently Asked Questions
No, and we say that without caveat. Winding a torsion spring correctly requires the right winding bars, the right wind direction, and the right quarter-turn count for your door’s weight. A single mistake can cause serious injury. The tools are not the limiting factor; the danger is. Call a specialist for any spring work, including extension springs.
Not if you follow the manufacturer’s paint spec. Clopay and most major brands publish paint requirements for their products, usually specifying an exterior-grade latex. Painting with the wrong product or over an improperly prepared surface leaves the door open to moisture damage that a warranty will not cover. Read your door’s paperwork before you buy paint.
Start with the sensors, because misaligned sensors are the most common cause. Clean the lenses, check the LED alignment, and confirm nothing is obstructing the beam. If the sensors check out and the door still reverses, the force setting or a binding door is the next suspect, and that’s a repair call. Call (844) 329-8773. We answer 24/7, and we can help sort out whether the issue is on the sensor side or the drive side.
Spring repair pricing depends on the spring type, the door’s weight, and whether one spring or a matched pair is being replaced. We give a written estimate before any work starts, and the price is agreed before we touch the spring. Free estimates are available, so the number you see before work begins is the number on the invoice.
Yes. Remote programming is a genuinely DIY-safe task for LiftMaster, Chamberlain, Genie, and Craftsman openers. The manual has the exact sequence for your model, and the sequence usually involves pressing the “learn” button on the motor unit and then pressing your remote twice. Follow the manual exactly; the timing matters.
Our technicians service LiftMaster, Chamberlain, Genie, Clopay, Amarr, Wayne Dalton, Craftsman, and Raynor equipment. That covers the brands already on most homes in the Brockton area, so homeowners rarely hear “we can’t work on your model” from us. If your brand is one of those eight, we can help.
The Bottom Line
The DIY-versus-professional question isn’t about skill. It’s about stored energy, electrical hazard, and warranty terms. Paint, weatherstripping, sensor alignment, remote programming, and light lubrication are homeowner-appropriate and won’t void your warranty. Spring work, cable work, panel replacement, and opener installation are professional-only for reasons that have nothing to do with your abilities. Sorting tasks into those buckets before you start is the difference between a productive Sunday and an expensive mistake. If you’re not sure which bucket a job falls in, call a specialist and ask.
Laurel Garage Door Repair is a garage-door-only specialist. We repair doors, service and repair openers, and install new doors. From the panels to the opener, garage doors are all we do. Call (844) 329-8773 for a free estimate. We answer 24/7. Fast dispatch from 7am to 7pm, Sunday through Friday, and we’re closed Saturday.
Written by the team at Laurel Garage Door Repair.